Getting Started: Project Setup
Learn how to create your account, set up your first project, and get your API key on ai4shops.com
Welcome to ai4shops.com! This comprehensive guide will walk you through creating your account and setting up your first project. Whether you want to add an AI chatbot, create beautiful modals, or build forms for your website, it all starts here.
What is ai4shops.com?
ai4shops.com is a powerful platform that helps you engage with your website visitors through:
- AI Chatbot - Answer customer questions 24/7 using your own knowledge base
- Modal Designer - Create stunning popups for newsletters, promotions, and announcements
- Form Builder - Collect leads, feedback, and track promo codes
All features integrate seamlessly with any website - WordPress, Shopify, custom HTML, or any other platform.
Video Placeholder: Project Setup Walkthrough
Duration: 2-3 minutes | A complete overview of account creation and project setup
Creating Your Account
Step 1: Visit ai4shops.com
Open your browser and navigate to ai4shops.com. You'll see the homepage with options to sign up or log in.
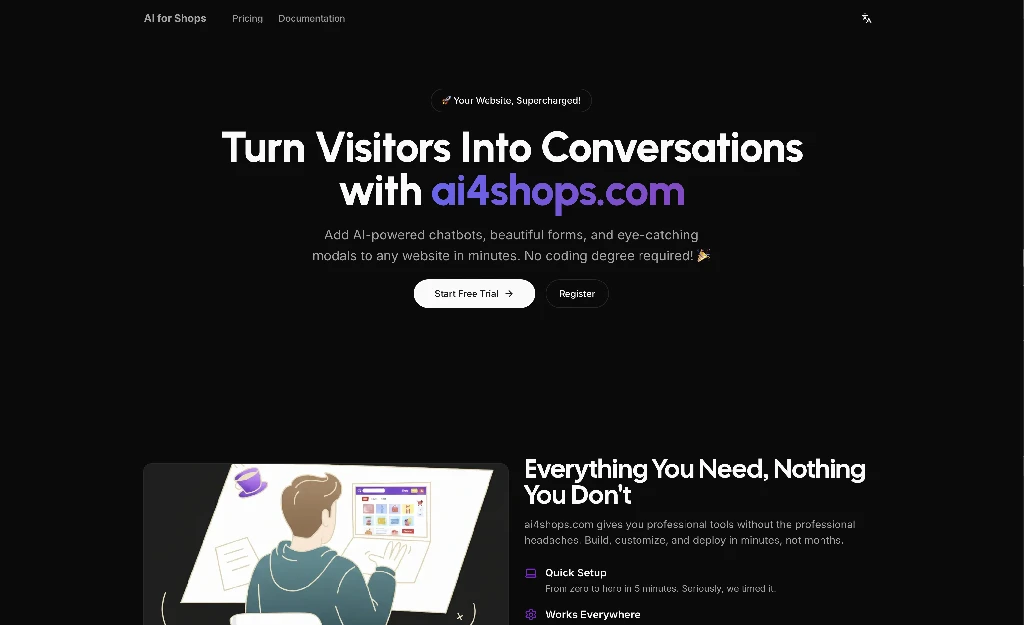
Step 2: Click Sign Up
Click the "Start Free Trial" or "Sign Up" button in the navigation bar. You can also use the sign-up button on the homepage.
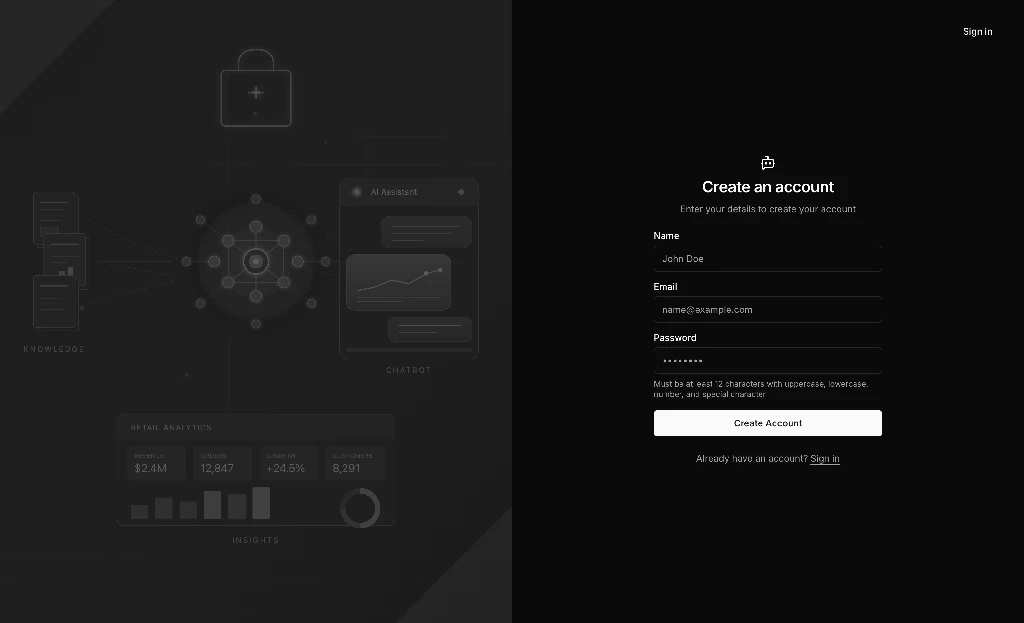
Step 3: Fill in Your Details
Enter your registration information:
- Name - Your display name
- Email address - Use a valid email you have access to
- Password - Choose a strong password (minimum 8 characters)
Step 4: Verify Your Email
Check your inbox for a verification email from ai4shops.com. Click the verification link to activate your account.
Can't find the email? Check your spam folder. If you still don't see it, click "Resend verification email" on the login page.
Step 5: Log In
Once verified, log in with your email and password. You'll be redirected to your dashboard.
Congratulations! You now have an ai4shops.com account. Let's create your first project!
Creating Your First Project
A Project represents one website or application. If you have multiple websites, you'll create a separate project for each one.
Step 1: Navigate to Dashboard
After logging in, you'll land on your Dashboard. This is your central hub for managing all your projects.
Screenshot: Dashboard overview
File: /_static/guides/project-setup/dashboard-en.png
Step 2: Click "New Project"
Look for the "New Project" or "Create Project" button. It's usually prominently displayed on the dashboard.
Step 3: Enter Project Details
Fill in the project creation form:
| Field | Description | Example |
|---|---|---|
| Project Name | A memorable name for your project | "My Online Store" |
| Description | Brief description (optional) | "E-commerce website chatbot and forms" |
| Website URL | Your website domain (optional) | "https://mystore.com" |
Screenshot: Project creation dialog
File: /_static/guides/project-setup/project-creation-en.png
Step 4: Create the Project
Click "Create" or "Save" to create your project. You'll be redirected to the project dashboard.
Your project is now created! You'll see it listed in your dashboard with its unique settings and features.
Understanding Your API Key
Every project has a unique API Key. This key is essential for integrating ai4shops.com features into your website.
What is the API Key?
The API Key is a unique identifier that:
- Authenticates requests from your website to ai4shops.com
- Links chatbot conversations, form submissions, and modal interactions to your project
- Ensures only your authorized websites can use your project's features
Finding Your API Key
Step 1: Open Project Settings
Navigate to your project and click on "Settings" or the gear icon.
Step 2: Locate the API Key Section
Look for the "API Key" or "Integration" section. Your API key will be displayed here.
Screenshot: API key display in settings
File: /_static/guides/project-setup/api-key-en.png
Step 3: Copy Your API Key
Click the "Copy" button to copy the API key to your clipboard. You'll need this when embedding widgets on your website.
Security Best Practices
Keep Your API Key Secure!
- Never share your API key publicly
- Don't commit it to public repositories
- Use environment variables in your code
- Rotate the key if you suspect it's been compromised
Project Settings Overview
Your project settings let you configure various aspects of your ai4shops.com integration.
Active Status
Toggle your project on or off. When disabled:
- Chatbot widgets won't respond
- Forms won't accept submissions
- Modals won't display
This is useful for maintenance or when you want to temporarily disable all features.
Screenshot: Project settings page with active toggle
File: /_static/guides/project-setup/project-settings-en.png
Team Members
Collaborate with your team by inviting members to your project:
- Go to Settings → Team or "Invite Members"
- Enter their email address
- Choose their role (Admin, Editor, Viewer)
- Send the invitation
Team members will receive an email invitation to join your project.
Allowed Origins (CORS)
For security, specify which domains can use your project's features:
https://mystore.com
https://www.mystore.com
https://staging.mystore.com
Important: If you don't add your website domain to Allowed Origins, the chatbot and forms won't work on your site due to CORS restrictions.
What's Next?
Now that your project is set up, it's time to add features! Choose what you'd like to build:
Need Help?
If you encounter any issues during setup:
- Email: support@ai4shops.com
- Documentation: Browse all docs
- FAQ: Common questions answered in our documentation
We typically respond within a few hours during business days!